I always enjoy a good project; a chance for me to make something new and work with something new in the process. These days I have several longer-term projects in-progress, so once in a while I enjoy working on something smaller that I can finish in a short time. This time it's my new wood LED clock project.
The Inspiration
First off, this is
not a new idea by any means. I've seen these kinds of clocks around before, but hadn't considered making one until now. Recently I came across a
website and
youtube channel called "
I Like To Make Stuff". Besides the fact that this statement perfectly describes me, I can also identify with the host/creator Bob Clagett. He's a father, software developer, and creative DIY'er like myself. Not long ago he posted a video on
How to make a wooden digital clock that walks through the process.
The main driver for me was that I already has the most important part... a barebones clock. A few years ago I bought the
ClockIt kit from Sparkfun when I was first getting into microcontrollers. I soldered it up, and then it sat on my workbench, mostly unused and ignored ever since. So I figured, why not retrofit this into a wood clock and put it up on my desk at work?
Reworking The Clock
The clock itself had a few issues that would make it difficult to place behind a sheet of veneer. There were a number of components on the circuit board that were too tall to make it work. I was able to remove a couple items completely. I wasn't planning on using the alarm feature, so I removed the buzzer and the alarm on/off switch. Both were easily de-soldered. I just replaced the switch with a wire jumper to simulate the alarm being in the off position. I could have bypassed this in code too, but this was simple enough.
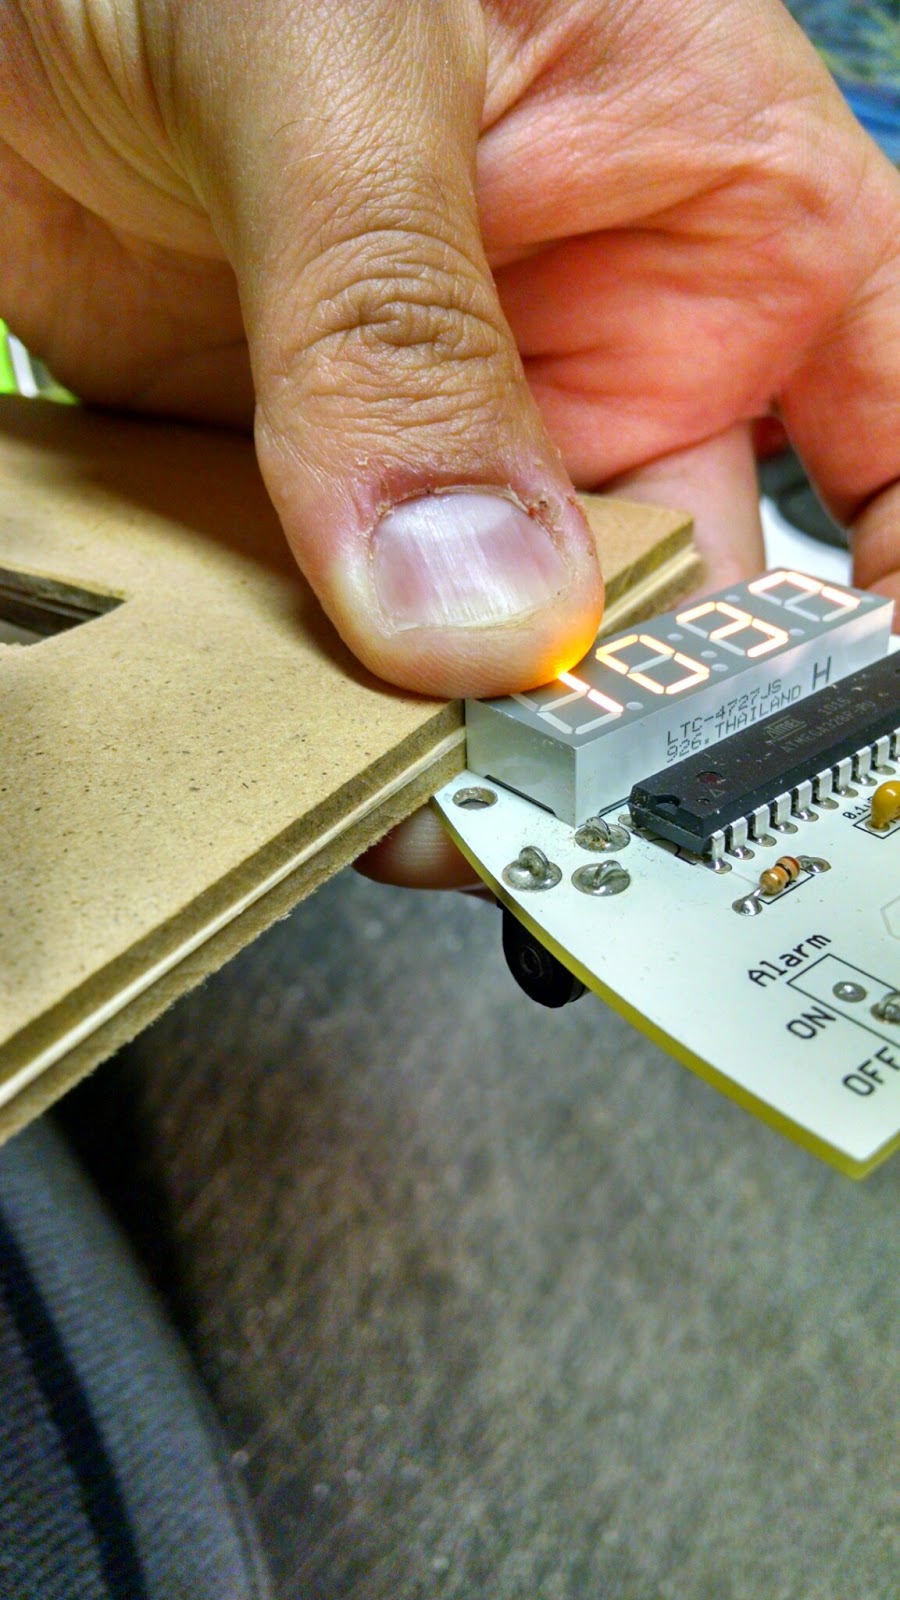
There were also some buttons, a capacitor, and some programming headers on the front of the board that were a bit too tall. I was able to move the buttons and capacitor to the back of the board without much issue. I didn't get the buttons pushed back through the holes all the way, so they're a little ugly, but for my purposes it was fine. I decided to keep the programming headers, but just clip them shorter. In the end, my LED display was the tallest item on the front, and everything left on that side was short enough that I could fit a 1/8" board over them.
 |
| Ready for rework |
Reprogramming
I won't get into too much detail here, but I also tweaked the programming on the clock a bit. I dug out my
AVR programmer, downloaded the source code from Sparkfun's website, made some changes, and used WinAVR to reprogram the clock. The main thing I did was disable the am/pm indicator "dot" on the clock, purely for aesthetic reasons. I also increased the brightness a bit since it would be behind a sheet of veneer. Their code is fairly straightforward, so making these changes didn't take much effort.
UPDATE 10/6/2014 - I've reworked the code a bit more and made my version available at GitHub: https://github.com/benbrandt22/TimeBox
Building the Box
The front face was the most complicated part of the build, but wasn't too bad. I measured up the clock and used CAD to draw up some cutouts that I could use that would hold the clock kit. I printed those templates to paper, transferred them to my 1/8" boards, and cut them out with a jigsaw. I also ended up cutting a couple sheets of veneer to give me the height that I wanted (see photos below):
 |
| Paper templates & wood cutouts. Since it is a 12-hour clock, not all the display elements will be lit, so it's shifted slightly to the left so the time will appear centered. |
 |
| Checking the height of my "faceplate" |
The rest of the box was cut out of various sheets of plywood and MDF, and glued together with wood glue:
Once dried, I trimmed down all 4 sides on the table saw to make each side smooth:
Applying the Veneer & Finishing
At this point it wasn't much of a show piece (yet), just a bunch of plywood glued together. I hadn't worked with veneer before, so this was a fun new (and relatively easy) experience. I picked up a pack of maple veneer from the local woodworking store, and a small bottle of contact cement from Home Depot.
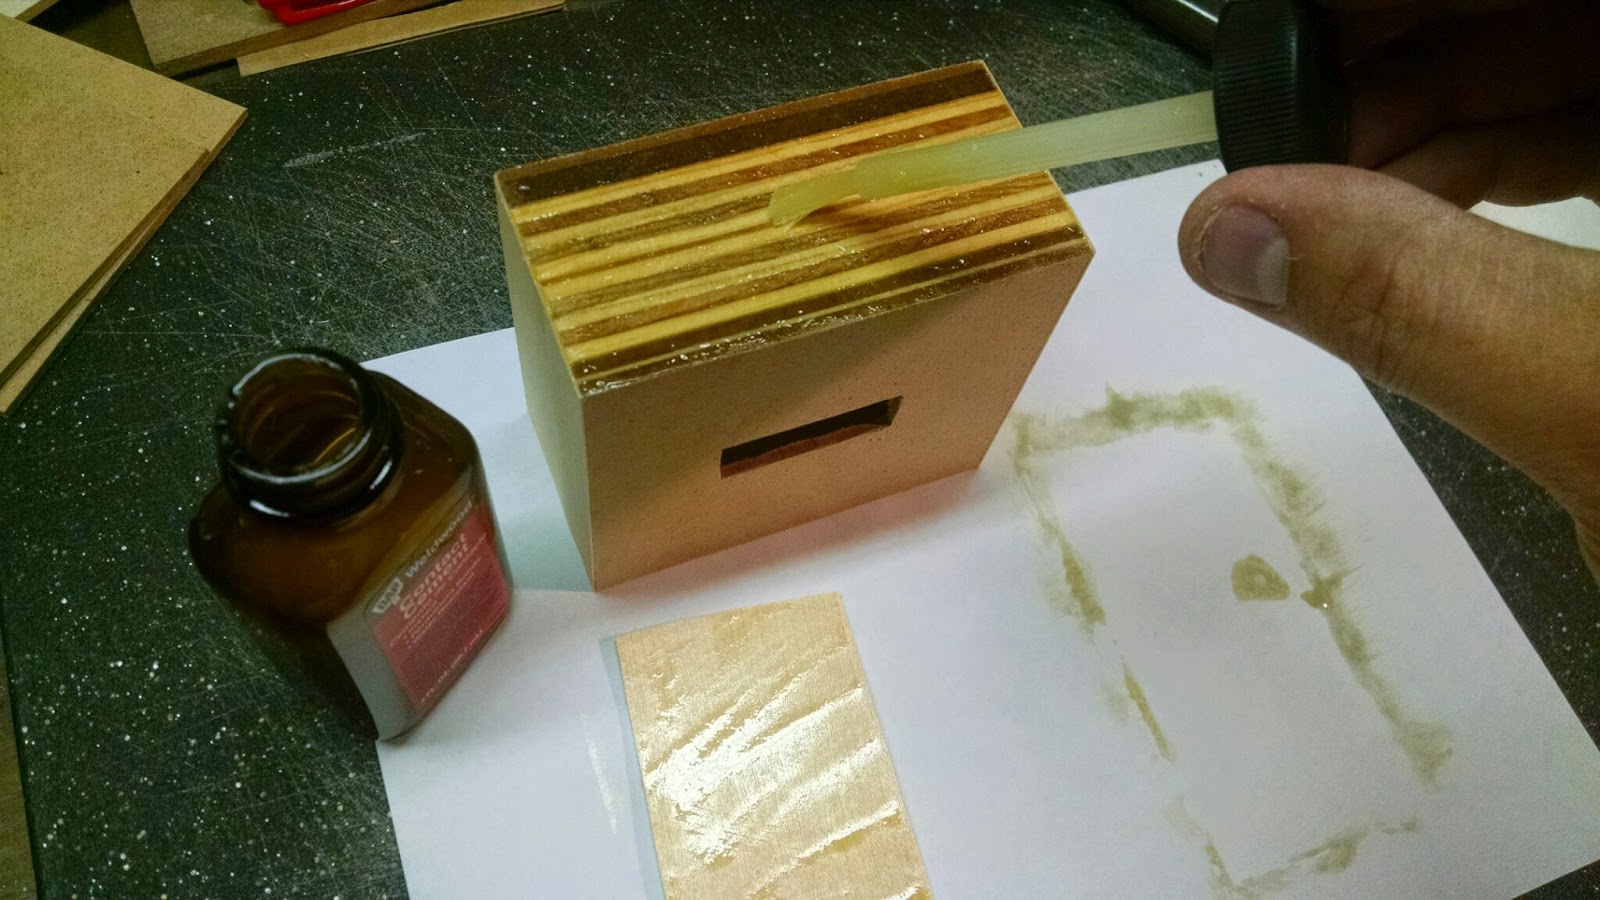
Each sheet of veneer was glued on with the contact cement. After drying, I used a power sander to knock down the edges to make them flush with the sides of the box. Once I had all the veneer applied, I gave the whole thing a couple coats of polyurethane for a nice finish. The polyurethane caused one minor issue I hadn't expected; it caused the veneer to warp slightly. This wasn't a problem where it was glued down, but the small rectangular area for the display ended up slightly indented. Eventually it flattened out a little bit, so it's not too noticeable anymore, but it's still not nice and flat like I was going for. Regardless, I think it turned out pretty nice.
I left the bottom open, so I can set the time, and remove the clock kit if necessary. I figure it's fun for people to be able to see what's inside to see how it was done, and knowing me, I'll probably want to make future changes, so it's nice having it accessible. I may add a removable base in the future, but for now I like the simplicity of the box in its current form.
 |
| Sanding down the edge of a veneer sheet |
 |
| Applying contact cement |
 |
| I masked off the area where the display would be, to avoid getting contact cement on it. |
 |
| Adding polyurethane |
 |
| The view from the bottom. Mounted in the back is a panel-mount power jack that runs to the clock inside. |
 |
| The finished product. |


